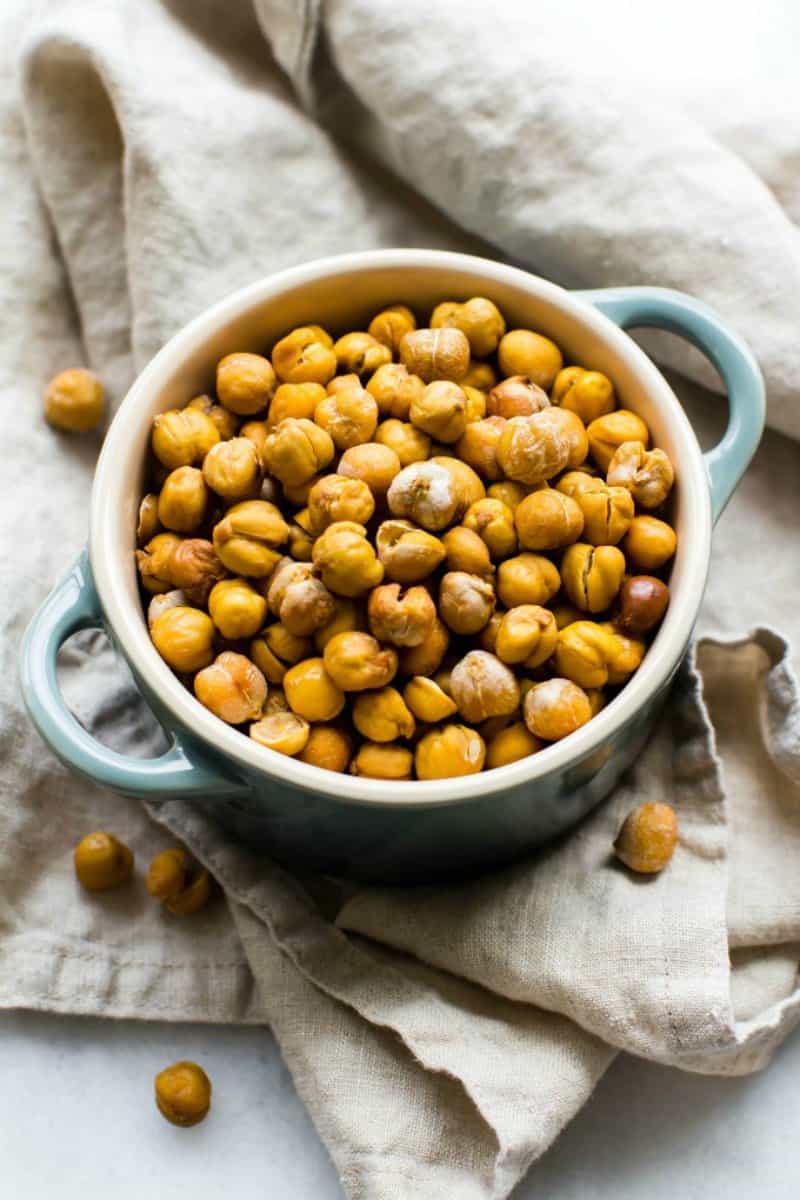
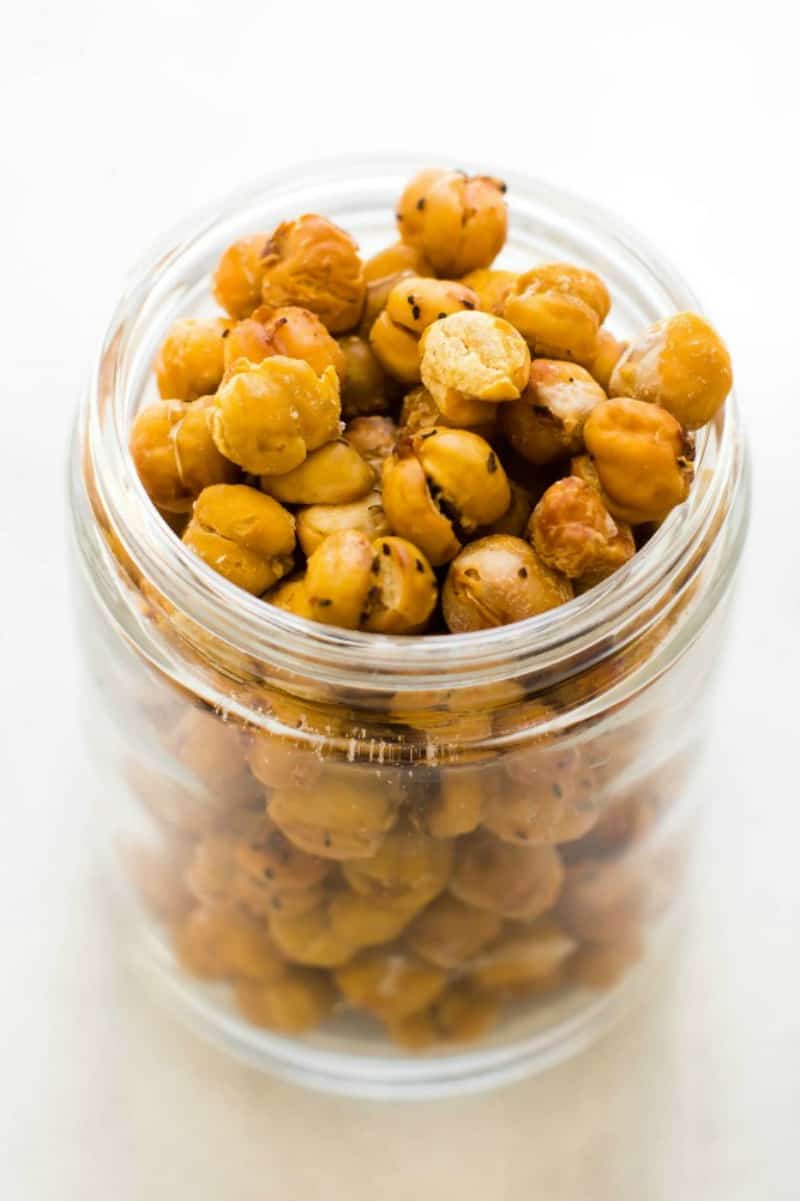
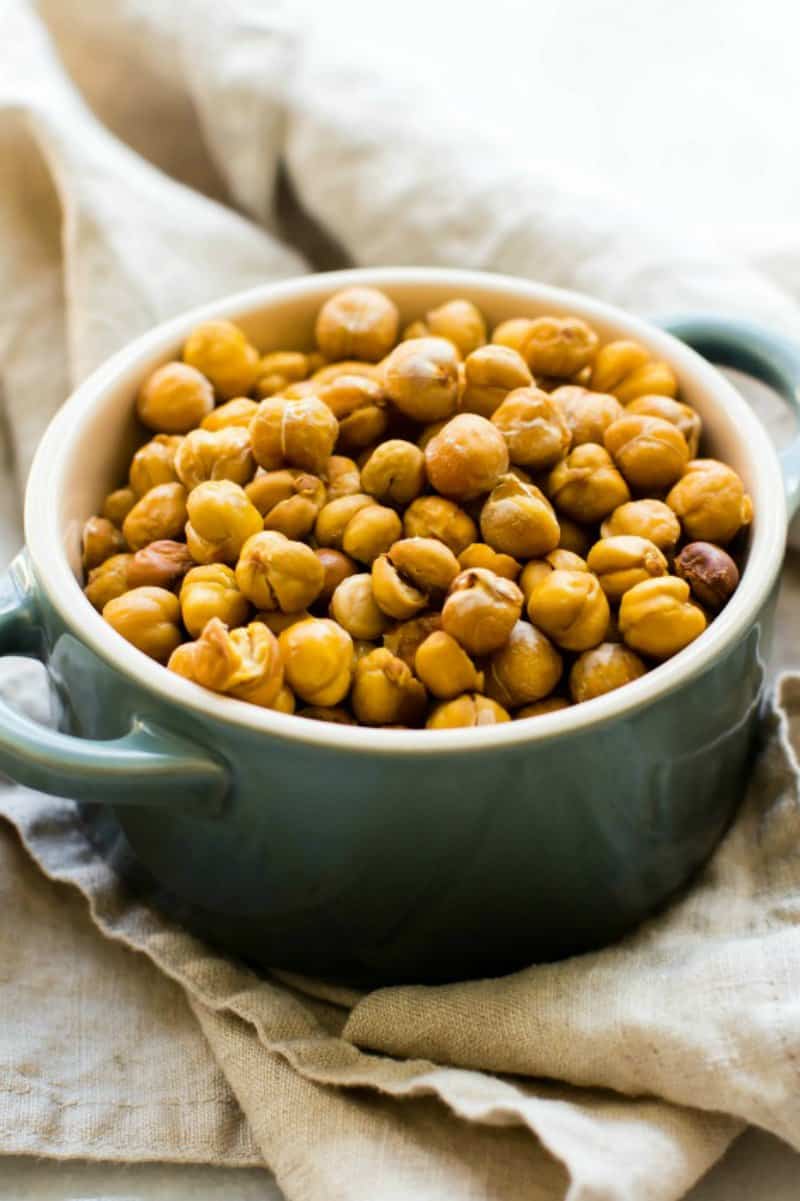
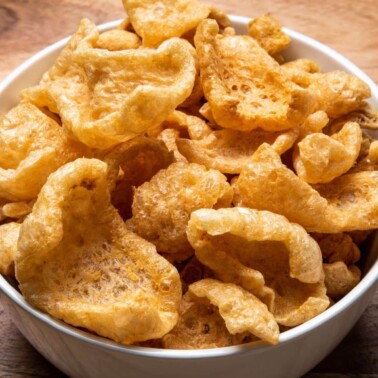
These crispy and crunchy roasted chickpeas are a delicious and healthy way to satisfy the savory snack tooth! Made with no oil and no fat, these oven roasted chickpeas come with 4 flavor options!
When it comes to savory snacks, I can never say no to keto tortilla chips, veggie chips, and these roasted chickpeas.
Seriously, is there any food out there as versatile as chickpeas? I love adding them to salads, to my soups, and even when I make a sheet pan dinner. Also known as garbanzo beans, they are naturally high in protein and packed with fiber.
One of my favorite snacks I used to always buy was roasted chickpeas, but that is until I saw the ingredient list- several kinds of oil, hydrogenized fats, and even added sugar!
Luckily, I realized you can EASILY make your own toasted chickpeas, and you don’t need a single bit of oil or sugar. They are fantastic vegan, gluten free and grain free snacks, and secretly healthy!
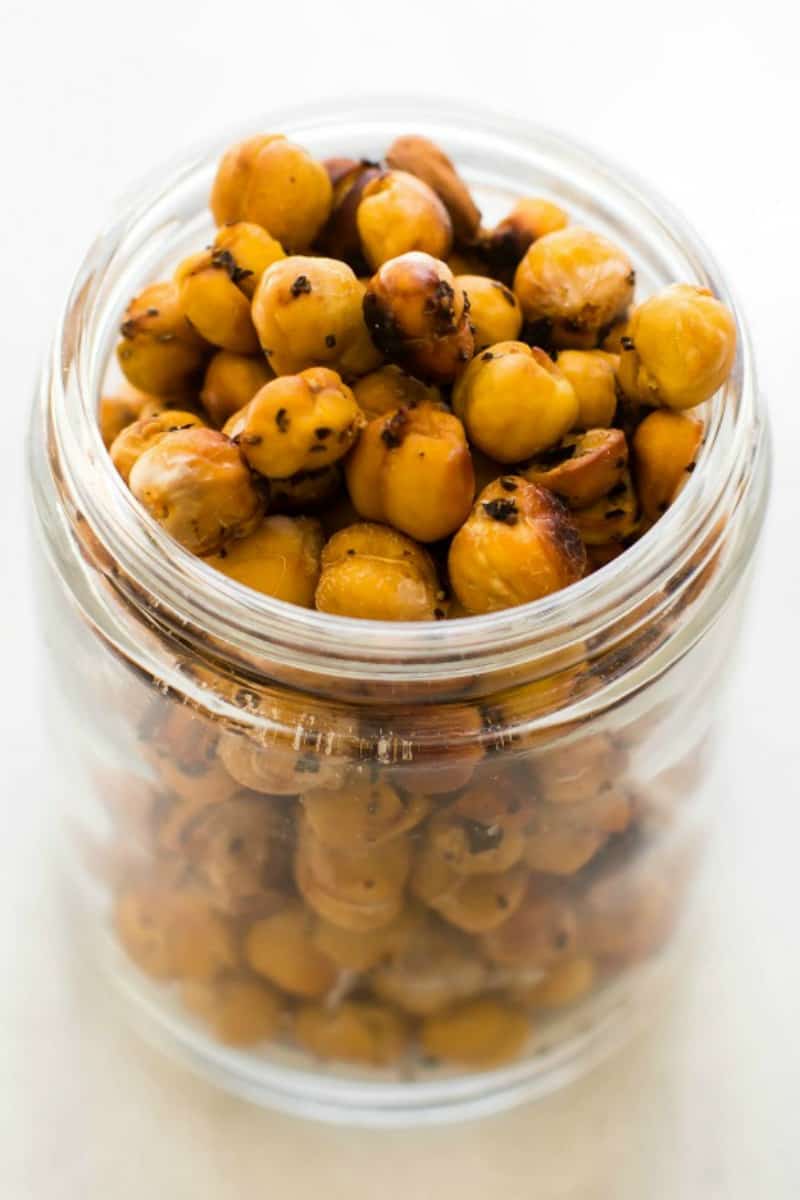
This roasted chickpea recipe is also easy and versatile. I’ve included a base recipe that is lightly salted, but also sharing 4 other fun flavor variations.
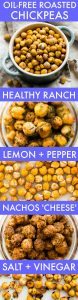
Here are the flavor seasonings-
- Lemon Pepper
- Nachos Cheese
- Ranch
- Salt and Vinegar
How to make roasted chickpeas
The Ingredients
- No Added Salt Chickpeas– You want to use unsalted chickpeas as salt will be later added. If you try to roast pre-salted chickpeas and NOT add salt, they will actually lose their flavor and remain soggy.
- Salt– Adds flavor but also helps the chickpeas dry out a little bit, giving them the crispy and crunchy texture, without adding oil or other fats.
The Instructions
Drain the chickpeas and reserve the extra liquid for another recipe, like to make a meringue. Pat the chickpeas dry, using a paper towel. While doing so, remove any chickpea shells that may loosen in the process. Transfer the dry chickpeas to a large mixing bowl, add, and the salt. Give it a good mix. Add your flavor mix-ins. Spread the chickpeas on a lined baking tray. Bake the chickpeas for 45 minutes at 200C/400F, stirring the chickpeas every 15 minutes. Remove from the oven and let cool completely.
Flavor Variations
For all the flavor variations, use the base roasted chickpea recipe first, before adding the extra ingredients to change the flavor. You’ll notice some of them have salt listed- This is added to the salt already used in the base recipe.
Lemon Pepper Roasted Chickpeas
- 2 tablespoons lemon juice
- 1 teaspoon lemon zest
- 1/2 teaspoon pepper
- 1/2 teaspoon salt (extra)
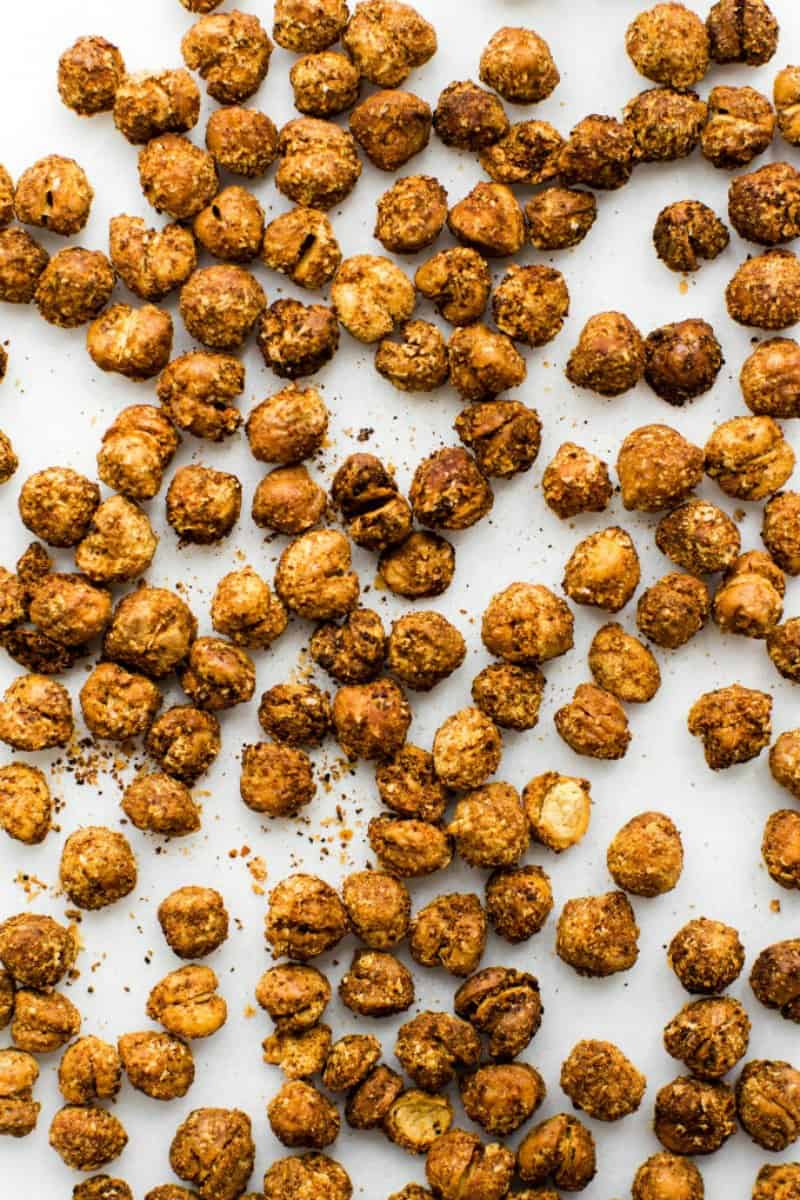
Nachos Cheese Roasted Chickpeas
- 1/4 cup nutritional yeast
- 1 teaspoon paprika
- 1 teaspoon onion powder
- 1/2 teaspoon chili powder
- 1/2 teaspoon salt
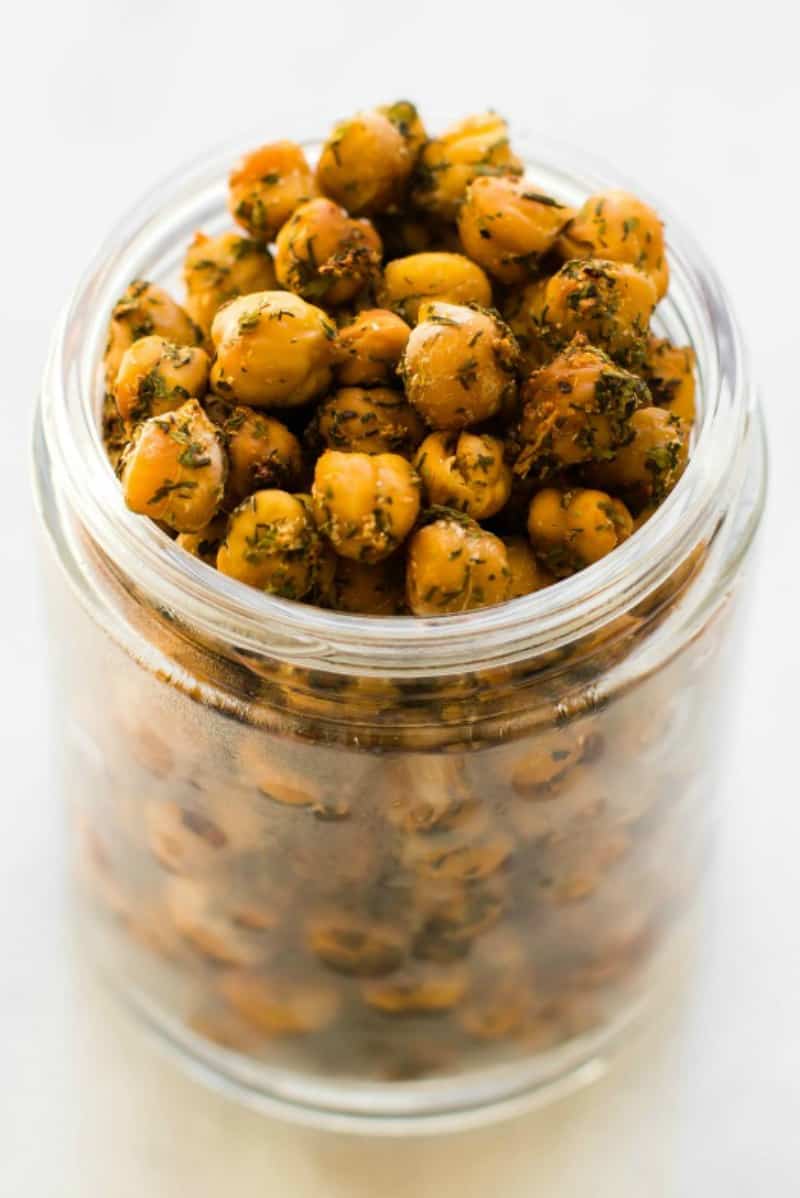
Ranch Flavored Roasted Chickpeas
- 1 tablespoon apple cider vinegar
- 1/2 teaspoon garlic powder
- 1/2 teaspoon onion powder
- 1 teaspoon dried dill
- 1 teaspoon dried parsley
- 1/2 teaspoon salt
- 1/4 teaspoon black pepper
Salt and Vinegar Roasted Chickpeas
- 1/4 cup white vinegar
- 1 teaspoon salt
Why are my chickpeas soggy?
If you haven’t patted your chickpeas completely dry if you haven’t stirred them every 15 minutes while they are in the oven and if you don’t let them cool completely, your chickpeas may be salty.
These chickpeas use no oil in them, so you must follow each step correctly to achieve this fabulous texture!
Cooking Tips
- Your chickpeas must be patted dry, to avoid any potential for non-crispy chickpeas. If it is easier for you to use a dry dish towel, you can do it that way if you’d like.
- For ultra crispy chickpeas, let them cool in the oven with the oven door open. They will not burn.
- If you make the salt and vinegar flavored ones, you must soak them in the vinegar for at least 30 minutes prior. Unlike the other toasted chickpea flavors, you don’t need to pat it dry.
- Be sure to stir the chickpeas every 15 minutes while it is baking, to ensure they cook evenly and are crunchy all over.
- Keep an eye on the chickpeas during the last 5-10 minutes of cooking, to prevent any burning.
How to store roasted chickpeas
Roasted chickpeas can be stored in an airtight container at room temperature, for up to 3 days. Avoid refrigerating or freezing them.
More easy vegan snack recipes
- Banana Bread Energy Bites
- Peanut Butter Protein Bars
- Chocolate Protein Bars
- Garlic Knots
- Cheese Garlic Breadsticks
Watch how to make them!
Share this recipe on Pinterest
Love this Crispy Roasted Chickpeas (Oil Free!) recipe?
Share it with the world on Pinterest.
Crispy Roasted Chickpeas (NO oil!)
Ingredients
- 1 15 oz can chickpeas no added salt
- 1/2 teaspoon salt
Lemon Black Pepper Flavor
- 2 tablespoon lemon juice
- 1 teaspoon lemon zest
- 1/4-1/2 teaspoon black pepper
- 1/2 teaspoon salt
Nacho Cheese Flavor
- 1/4 cup nutritional yeast
- 1 teaspoon paprika
- 1 teaspoon onion powder
- 1 teaspoon chilli powder
- 1/2 teaspoon salt
Ranch Flavor
- 1 tablespoon apple cider vinegar
- 1/2 teaspoon garlic powder
- 1/2 teaspoon onion powder
- 1 teaspoon dried dill
- 1 teaspoon dried parsley
- 1/2 teaspoon salt
- 1/4 teaspoon black pepper
Salt and Vinegar Flavor
- 1/4 cup white or apple cider vinegar soak for 30 minutes, drain, don't rinse
- 1 teaspoon salt
Instructions
- Preheat the oven to 200C/400F. Line a large tray with parchment paper and set aside.
- Drain and rinse the chickpeas. Spread onto one half of a dish towel, fold over the other half, and thoroughly dry them. Remove any shells that may loosen in the process.
- Transfer to a bowl. Toss with the salt. Add your flavor of choice and mix well. If making the salt and vinegar flavor, soak the chickpeas in vinegar for 30 minutes prior.
- Spread the chickpeas out evenly on the pan. Bake for 45 minutes, checking and stirring every 15 for even baking/browning. Watch them closely for the last 10 minutes as they can burn easily.
- Remove from the oven and let them cool for 10-15 minutes before eating. Or to ensure maximum crispiness, you can turn off the oven, crack the door, and let them cool in there for about 1 hour.
Notes
Nutrition
Disclosure: This post may contain affiliate links. I may earn a small commission for my endorsement, recommendation, testimonial, and/or link to any products or services from this website.


Oh yum. These look great!! I love buffalo flavored pretzels as a snack- these would be tasty with some buffalo seasoning!!!
Oh yum! I love some crispy chickpeas and these flavor combos sound amazing!
I love roasted chickpeas! I never thought to leave the oil out. I pretty much cover anything I roast in olive oil haha. My favorite snacks are usually something salty/crunchy, so this fits the bill!
Woah…look at all those flavor options! I actually have a couple cans of chickpeas in my cupboard right now, and I keep thinking I should roast them up as an easy and healthy snack. So this post just read my mind! Yum!
Crunchy snacks are just DA best. 🙂
These are great! I love chickpeas! I don’t like removing those skins, however so I’m so glad its not needed for this! I used to make hummus at my coffee shop and would meticulously remove all the skins on buckets of chickpeas to get the smoothest result. SO NOT FUN!
Thank you Arman, I love chickpeas, and as I’m now a Type 2 diabetic, I’m always on the look out for healthy snacks. Linda x
You are so welcome, Linda! 🙂 Hope you enjoy them, my friend!
Looks amazing!!! Oil free.. wow! Can I use cooked chickpea instead? How much? Thank you!!!
Hi Vivi! Absolutely- These chickpeas from a can are pre-cooked 🙂
i make roasted chickpea occasionally but have tried with olive oil. i will have to give this version a try. thank you for all those different variations,
I am completely lost. When do you put the seasonings on?
Hi Laura, each seasoning blend goes on differently- they are located under the directions 🙂
I am not seeing the directions – except for the salt and vinegar near the top of the post – either. the recipe includes them, but the instructions only say add salt.
Hi Nia! Apologies for that, the additions should be mixed post-cooked chickpeas 🙂
I usually fry my chickpeas in oil, and always feel guilty for doing that! I was quite nervous to try this recipe, because I didn’t want my chickpeas to be “dry”. Rather than turning out crispy, they turn out crunchy! Awesome for salads, burritos, ect. Glad I tried it!
Cheers, Dana!
Have read it three times and can not find when to put spices on.
Apologies for that- Once the cooking is almost done, toss them through. You can also do it prior 🙂
I am looking to make the ranch ones when do I put the seasonings on?
Hi! Add it once the chickpeas are cooked and toss through 🙂