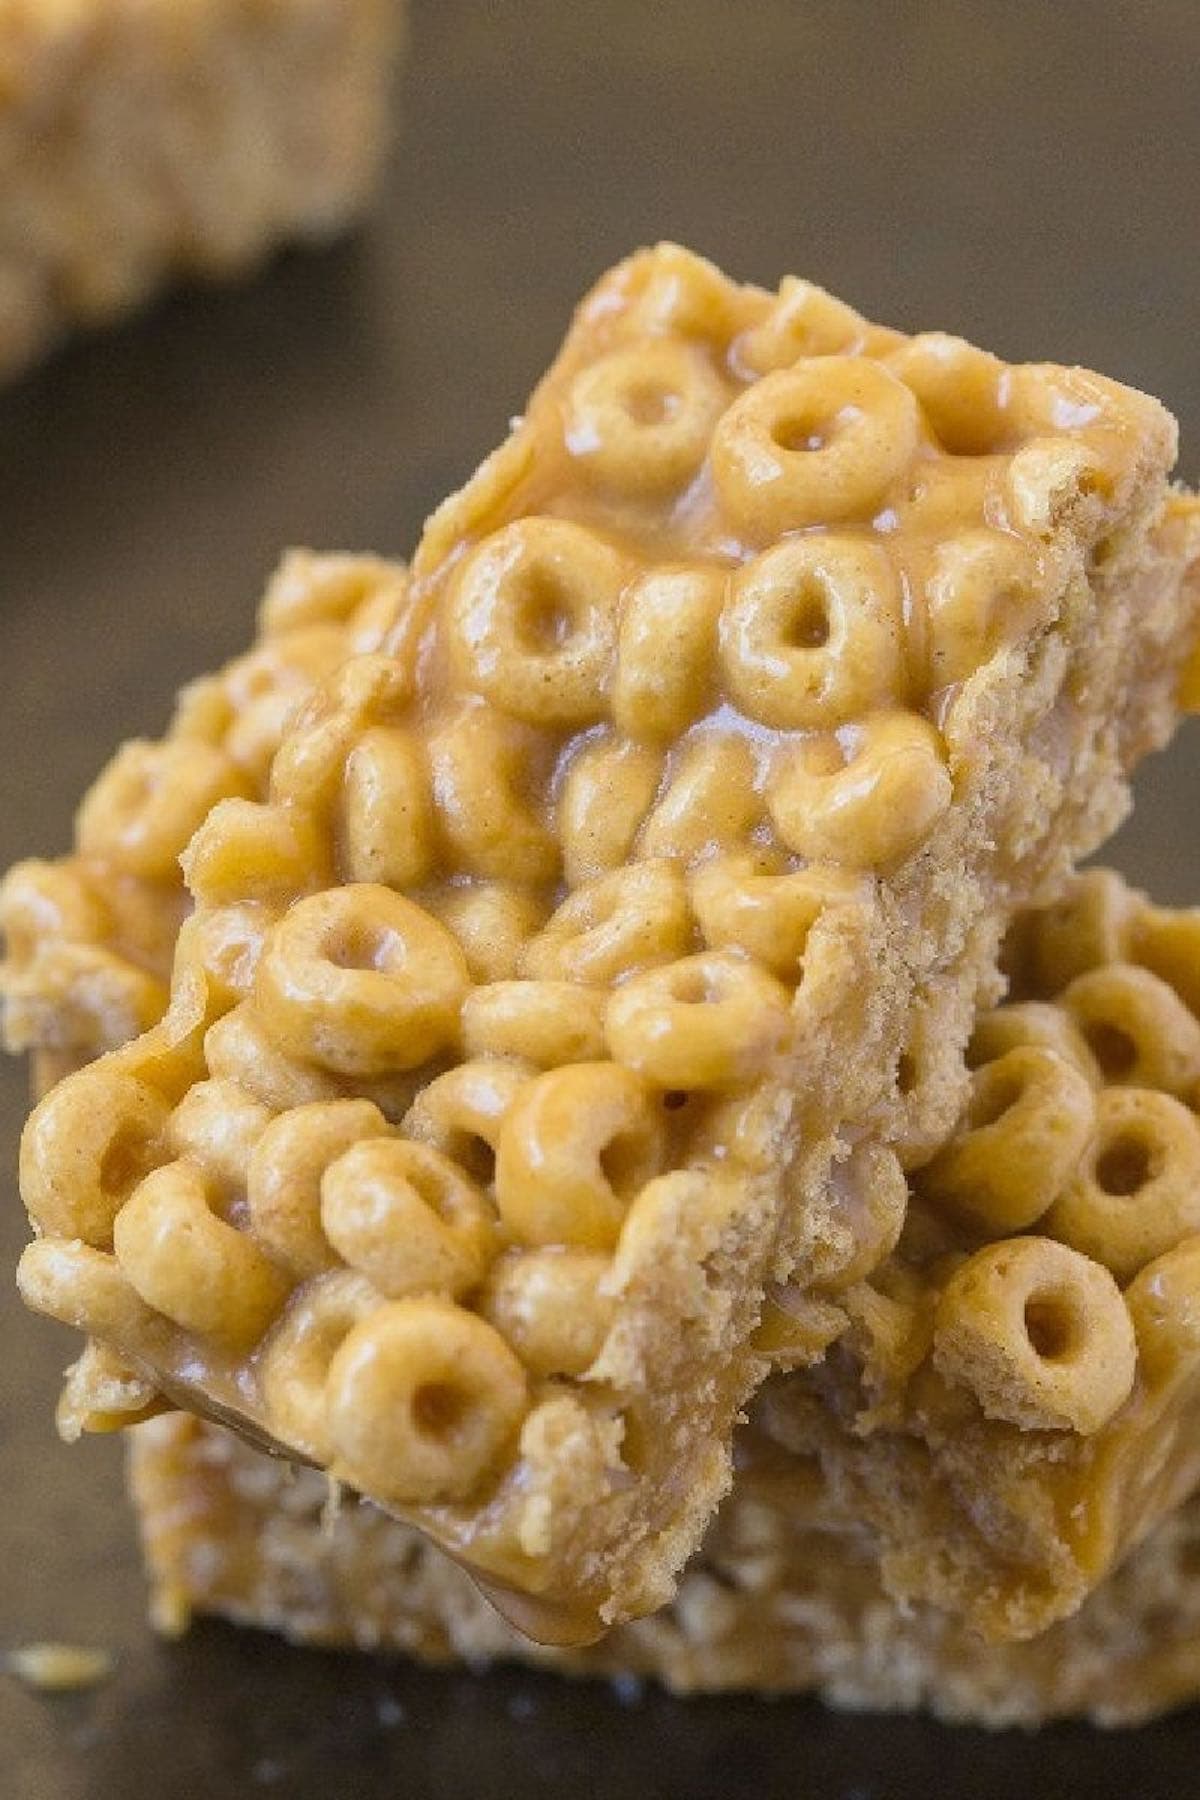
These homemade cereal bars need just 3 ingredients to make and taste better than anything store-bought! A healthy and kid-friendly snack.
If you’ve made our homemade protein bars or peanut butter protein balls before, you’ll love this cereal bar recipe. It’s better than anything store-bought and so much healthier for you!
Why this recipe works
- Just 3 ingredients. Cereal, a sticky sweetener, and nut butter are all you’ll need.
- Diet friendly. Easily make this gluten-free, vegan, and/or lower sugar.
- Ready in 5 minutes. All you do is mix it up and transfer it into a pan and wait for it to set.
What I love about this recipe is just how easy it is to customize. I can easily change up the flavor, use other nut butter, or even cut the sugar completely!
Ingredients needed
As mentioned earlier, this recipe calls for three simple pantry staple ingredients. Here is what you’ll need:
- Cereal. Any crispy cereal works, including whole-O’s, special K cereal, or even rice crispies.
- Maple syrup. Binds everything together and adds some sweetness.
- Almond butter. Smooth almond butter with no added sugar or salt.
How to make cereal bars
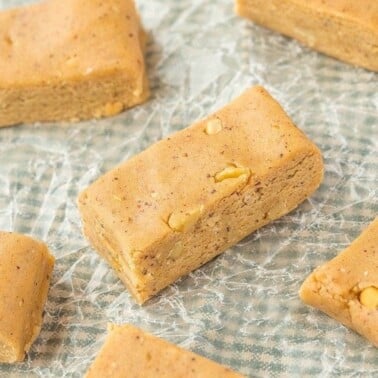
Start by adding the cereal into a large mixing bowl. Next, add the maple syrup and almond butter into a microwave-safe bowl and microwave it for 20-seconds, or until the peanut butter has melted.
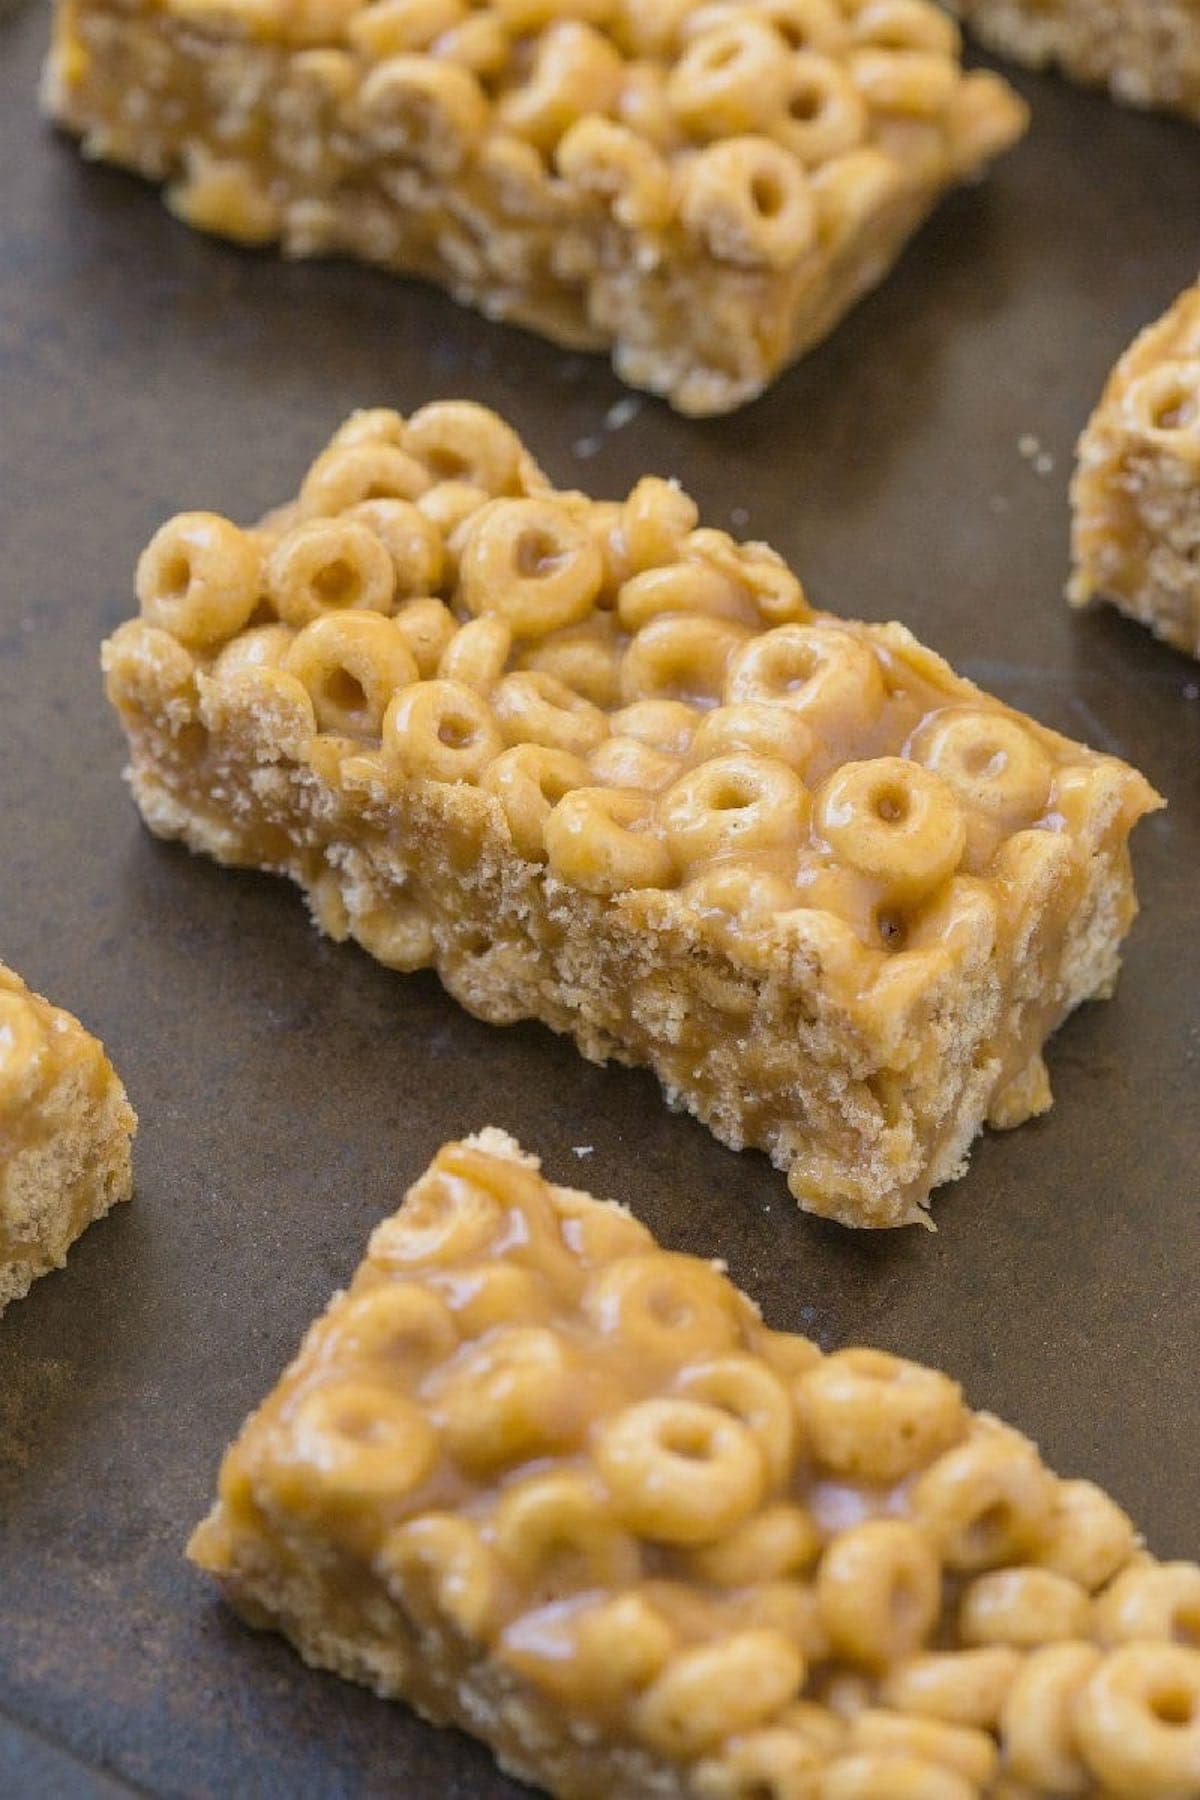
Now, add the syrup/almond butter mixture to the mixing bowl with cereal and mix until combined. Transfer the cereal bar mixture to a lined pan and refrigerate it for 30 minutes, or until it has firmed up. Once firm, slice them into bars.
Variations
The beauty of this cereal bar recipe is just how easy it is to customize with other ingredients or even add some fun ones into them. Here is what we’ve tried:
- Make it almond-free. If you can’t tolerate almonds or are allergic, switch it out for peanut butter, sunflower seed butter, or tahini.
- Lower the sugar. Swap out the maple syrup for sugar free maple syrup or sugar free honey.
- Keep it gluten-free. Use a celiac-friendly cereal like Gluten Free Cheerios.
- Add mix-ins. Chocolate chips, raisins, and toasted coconut flakes are all great additions.
Storage instructions
To store: Avoid keeping these bars stored at room temperature as they are prone to becoming soggy. Instead, place them in an airtight container and store them in the refrigerator. They will keep well for up to two weeks.
To freeze: Place the bars in a ziplock bag and store them in the freezer for up to 6 months.
More healthy snack recipes to try
Frequently asked questions
Homemade cereal bars are much healthier than store-bought or packaged bars. They contain considerably less sugar, less fat, and fewer ingredients. They are also more cost-effective, too.
On its own, a cereal bar isn’t a very satisfying breakfast and would leave you hungry a few hours later. These work well as a satisfying snack between meals.
Share this recipe on Pinterest
Love this Cereal Bars recipe?
Share it with the world on Pinterest.
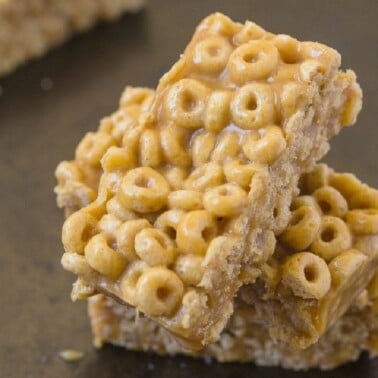
Cereal Bars With 3 Ingredients | No Bake Recipe
Ingredients
- 2 cups cereal gluten free, if needed
- 6 tablespoons almond butter can substitute for peanut butter or sunflower seed butter
- 6 tablespoon maple syrup can substitute for honey or agave nectar
Instructions
- Line a baking tray with baking paper and set aside.
- In a large mixing bowl, add your dry cereal and set aside.
- In a microwave safe bowl or stovetop, melt almond butter with your maple syrup and then pour the mixture into the crispy rice cereal and mix well.
- Pour mixture into the lined baking tray and press firmly into place. Refrigerate for at least 30 minutes to firm up.
Notes
Nutrition
Disclosure: This post may contain affiliate links. I may earn a small commission for my endorsement, recommendation, testimonial, and/or link to any products or services from this website.


I use cornflakes to make cereal bars because the have the texture of a butterfinger when you mix them with peanut butter and maple syrup. I don’t eat that much cereal really, but if I have a handful left I usually just mix it into my oatmeal or something. Great easy recipe Arman!
That’s a great idea! Thanks Ellie!
OOH, I love cereal bars. I would love to make these. I love to use up ingredients. Using God’s resources is wonderful!
🙂 Thanks Emily!
Hello new lunchbox staple! I can’t get over how quick these are to make, I am constantly craving rice krispy treats but it’s so hard to find ones not made with beef gelatine. Thanks for another awesome recipe and WIAW Arman. I hate wasting food, I won’t throw anything away unless it is mouldy. In all honesty, I tend to eat more cereal dry out of the box than in any other medium (including the dust at the bottom), I do use it as an ice cream and yogurt topping occasionally though.
OH wow- Aubrey, try this recipe out- I make it twice a week to snack on, SO good! https://thebigmansworld.com/2015/09/23/healthy-3-ingredient-rice-crispy-treats/
If you want a protein packed option, here is one- https://thebigmansworld.com/2015/12/03/healthy-4-ingredient-cake-batter-rice-crispy-treats/
Ha, I actually just bought a box of cereal (paleo granola – you’d approve!) purely to put on top of my yoghurts, protein puddings etc. I love the texture!
Oh geebuz. Please tell me it didn’t taste like cardboard!
Definitely not! I’ve bought it four or five times and it’s great, although a little expensive. This is the one: https://www.musclefood.com/high-protein-snacks-1/breakfast-cereals/cocoa-hazelnut-paleo-granola.html You should recreate it for me!
I’m actually creating one for my book! 🙂
Mmmmm nothing better than some pb cereal bars! Love how simple and easy the ingredients are!
Thank you, Kerri!
I HATE wasting food, which is why I’m devastated when I see that something in my fridge is expired! 🙁 BUT, I never waste cereal. I tried your bars and I thought they were awesome! So delicious and sweet–I’m totally reminiscing the Froot Loops and Cinnamon Toast Crunch bars now!
You, my friend, can make one massive sweet potato and stuff it with everything! 😀
Oh my! Here’s to hoping I win the mixer! A few years ago I have my kitchen aide away to someone who had a dream to start baking cupcakes out of her home for a business but didn’t have a mixer. I gave her mine and didn’t think I’d miss mine bc I have a hand mixer. Boy was I wrong! I really miss mine and they are way too expensive to buy a new one! ?
Great! Thanks Emili, good luck!
Neil will save all his cereal bits and then mix them in a bowl with PB and whatever other nonsense he finds. It’s actually pretty delicious….as I’m sure these are!
Neil is actually a certified legend.
Such a simple recipe and much healthier than any store bought version! I can’t wait to try these!
Right? Thank you!
Turn the cereal dust into cereal milk it the most amazing malty flavoured milk in the world don’t not do it grammar is my forte btw
Oh yes! Mohina, I’ve got a fun recipe to share soon!
What a terrific recipe – I was just looking at 5-ingredient ones on TV and this tops those!
Cheers, thanks Lynn!
does the T stand for Table Spoon or Teaspoon or What ?
Hi there, it stands for tablespoon 🙂
I eat cereal as dessert too. Theres been a couple times recently I had it as breakfast…and that’s because I was super lazy.
WHAT?! Poor eggs!
These are a tasty snack and love the short ingredient list, too! 🙂
🙂 Thank you, Joanne! We can enjoy our coconut flour on the side!
Can’t wait to try these. In the recipe you say line a baking tray? What size baking tray do you suggest? 8X8 ?
Hi Sally! I sometimes use 8 x 8 or even bigger- Depends on how thick and chewy you want the bars 🙂